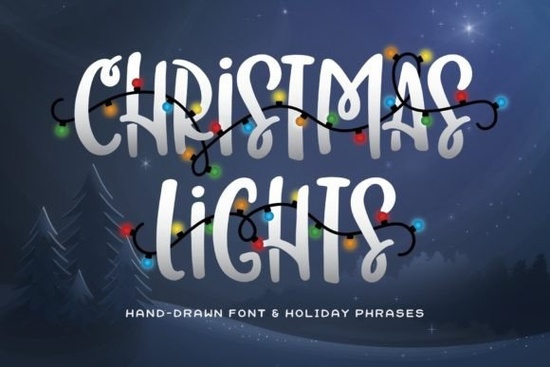
Finding the right typography for seasonal projects can be tricky, especially when you need something that stands out on merchandise and greeting cards. The Christmas Lights Font solves this by offering a bold, all-caps display style packed with festive personality. Instead of just standard letters, this typeface includes pre-designed holiday words wrapped in illustrated string lights, making it incredibly easy to create eye-catching winter graphics without needing extra illustration skills.
What makes this typeface useful for holiday merchandise?
Print-on-demand sellers and small business owners know that thick, readable letters perform best on apparel and home decor. Because this design uses a heavy, all-caps structure, it remains highly legible even when scaled down for coffee mugs or baby onesies. The built-in decorative words save you hours of manual illustrating. If you are browsing the festive typography collection for quick turnaround projects, having ready-made elements means you can finalize a t-shirt design in minutes rather than hours.
How do you pair bold display letters with other styles?
Since the main letters are very thick and heavily decorated, your supporting text needs to provide visual contrast. Overloading a design with multiple heavy fonts makes it difficult to read. Here are a few practical pairing strategies based on your specific project:
- For elegant winter events: Combine the bold caps with an elegant cursive style to balance the heavy visual weight with sweeping, delicate curves.
- For casual family cards: Use a relaxed handwritten alternative for the body text to keep the mood warm, personal, and approachable.
- For children's apparel: Pairing the main design with a whimsical storybook lettering style adds a fun, playful touch that appeals to kids and parents.
- For minimalist winter aesthetics: Contrast the decorative elements with a delicate snowy typeface or a clean sans-serif to let the main graphic breathe.
Which crafting machines and software work best with these files?
Crafters using Cricut or Silhouette machines will appreciate the thick strokes of the standard alphabet, as they cut and weed very easily on adhesive vinyl or heat transfer material. However, the pre-decorated words with string lights contain smaller details like individual bulbs, glowing effects, and thin wires. If you plan to cut those specific words out of vinyl, you might need to simplify the nodes in your cutting software or use the print-then-cut feature to preserve the intricate details without tearing the material. For digital design, software like Canva, Adobe Illustrator, or Affinity Designer will handle the font files smoothly, allowing you to adjust kerning and line height for perfect alignment across your canvas.
What are the best applications for the pre-decorated words?
The illustrated holiday words are easily the standout feature of this entire package. Rather than building a graphic from scratch, you can drop these ready-made elements directly into your layout. They work best as the central focal point of your design, drawing the eye immediately. Try using them on these popular items:
- Wooden porch signs: The thick letters and light strands mimic the look of actual outdoor holiday decorations.
- Crewneck sweatshirts: Place a decorated word across the chest for a trendy, comfortable winter boutique item.
- Gift tags and wrapping paper: Scale the words down to create custom, reusable tags for small business packaging.
- Social media announcements: Use the decorated words as bold headers for holiday sales or event promotions.
Which color palettes work best for this typography?
While the font looks great in standard holiday red and green, you can make your merchandise stand out by experimenting with modern color palettes. Try using muted vintage tones like dusty rose, sage green, and mustard yellow for a farmhouse aesthetic. Alternatively, use bright neon colors for the string light bulbs against a dark charcoal background to create a glowing, retro effect. The bold nature of the letters means they hold up beautifully to complex gradients and multi-color printing techniques.
How should you prepare your files before cutting or printing?
Before you send your design to the printer or the cutting mat, run through this quick preparation checklist to ensure a professional result:
- Outline the text: Always convert your text to curves or outlines before sending files to a commercial printer to avoid missing font errors.
- Check the contrast: If printing on dark garments, ensure the string light details are bright enough to stand out against the fabric color.
- Adjust the kerning: Because the letters are bold, manually tighten the spacing between characters so the words look cohesive rather than disjointed.
- Test a small cut: If using the intricate string light words for vinyl, cut a small test piece on scrap material to check if your blade pressure is weeding the tiny bulbs cleanly.
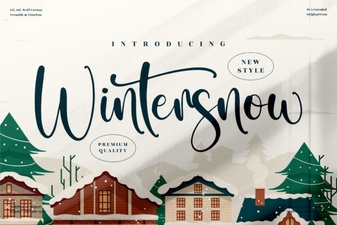 Wintersnow Font: Elegant Design for Modern Projects
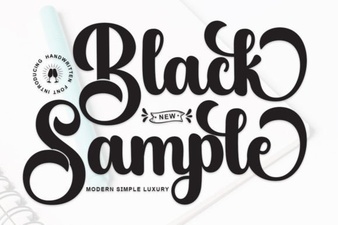 Showcase Design Ideas with a Black Sample Font
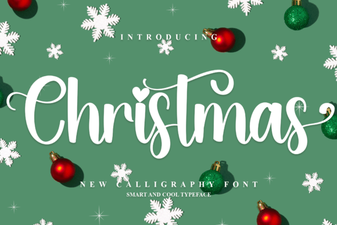 Choose a Festive Font for Your Holiday Design
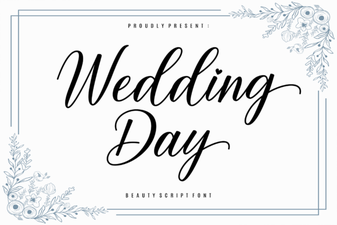 Wedding Fonts to Make Your Day Unforgettable
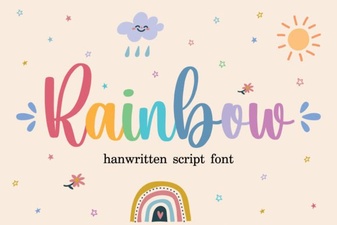 Rainbow Fonts: Adding Colorful Creativity to Design
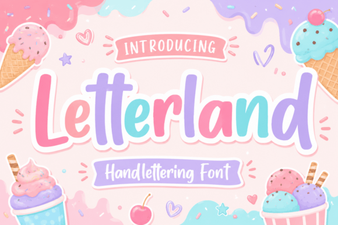 Creative Letterland Font Projects & Ideas