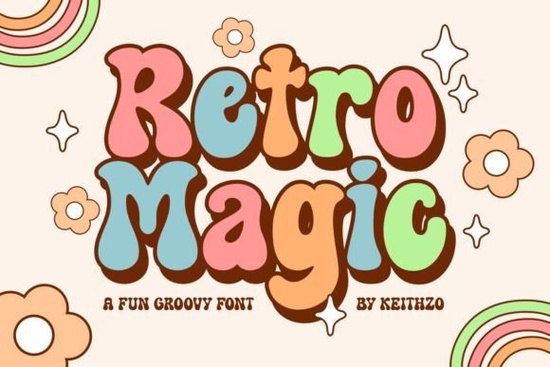
Finding the right typography for a vintage-inspired project can be tricky. You want something that feels nostalgic but remains highly legible and fresh. The Retro Magic Font solves this by blending playful curves with a stylish, romantic aesthetic. It is a versatile display typeface designed for greeting cards, bold headlines, and branding materials. Whether you are a small business owner creating product labels or a hobbyist making custom apparel, this typeface adds an exquisite, old-school charm without looking outdated.
What kind of projects work best with a retro display typeface?
Display typefaces are meant to grab attention, so they shine in large formats. For print-on-demand sellers, this style is ideal for t-shirt graphics, tote bags, and coffee mugs. The thick strokes and smooth curves make it highly visible from a distance. Crafters will find it excellent for Cricut or Silhouette projects, like wooden signs or acrylic cake toppers, because the letterforms are solid and easy to weed. Small businesses can use it for boutique logo design, handmade soap or candle packaging labels, wedding invitation suites, and social media promotional graphics.
How do you pair a playful retro font with other styles?
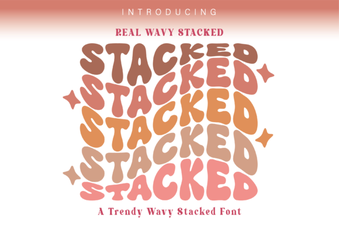
Mixing typefaces requires a bit of balance. Since a retro display font has a lot of personality, it pairs best with simpler, more neutral fonts for your body text. If you want to lean fully into the vintage aesthetic, you might combine it with a wavy stacked layout to create a dynamic, 1970s-style badge or sticker.
For a softer, more romantic look, try pairing it with a delicate script. A charming duo typeface can provide a nice contrast for subheadings or secondary text. If your project needs a nostalgic feel, mixing it with a sentimental handwritten style adds a lovely personal touch to scrapbooking or journaling pages.
When designing for kids or school events, you can keep the energy high by incorporating a fun brush lettering style for accent words. Alternatively, for sports-themed merchandise or university apparel, blending it with a classic collegiate lettering style creates a strong, traditional varsity look that appeals to alumni and students.
Is this typeface easy to use for print-on-demand and crafting?
Yes, but you need to pay attention to technical details. For direct-to-garment printing, the bold nature of the letters ensures the ink lays down smoothly. For vinyl cutting, the clean edges mean your machine will not get stuck on intricate details. For more general tips on working with vintage lettering, you can read about how designers utilize the Retro Magic style in modern branding.
Here are a few technical tips to keep in mind:
- Kerning: Always check the spacing between letters. Display fonts sometimes need manual adjustments to look perfectly balanced.
- Scaling: Keep the size relatively large. Shrinking it down too much can cause thicker strokes to bleed together on porous paper.
- Color: High-contrast palettes, like cream text on a mustard yellow background, highlight the vintage vibe perfectly.
What should you check before sending your design to print?
Before you finalize your project and send it to the printer, run through a quick quality control process. This ensures your hard work translates perfectly to the physical product and saves you from costly reprints.
- Outline your text: Convert your typography to paths in your design software to prevent missing font errors when the file is opened elsewhere.
- Check the bleed area: Ensure you have an adequate bleed margin to avoid awkward white borders after trimming.
- Test a small cut: If using a vinyl cutter, do a test cut on scrap material to ensure the blade depth is correct for the thicker strokes.
- Proofread carefully: Double-check all spelling. Once the vinyl is weeded or the shirt is printed, fixing a typo means starting over from scratch.
 Wavy Font Styles for Creative Web Design
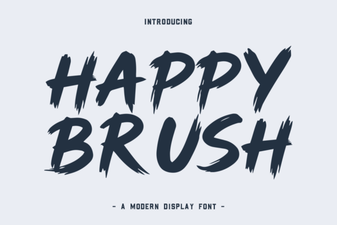 Happy Brush Font Ideas for Joyful Projects
 A Creative Typeface for Nostalgic Designs
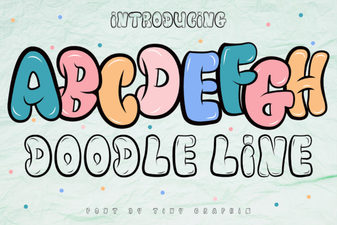 Doodle Line Font: Creative Typography for Your Projects
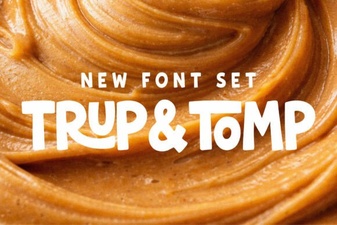 Trup & Tomp: Elegant Fonts for Modern Design
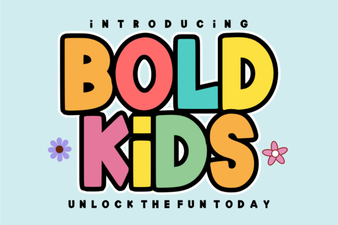 Creative Projects & Design Tips for Bold Kids Fonts