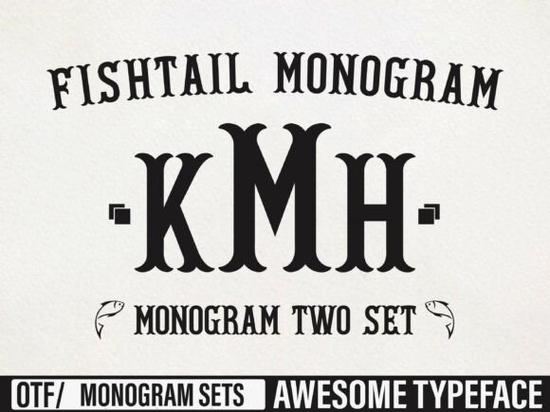
Finding the right typography for personalized gifts or boutique branding can take a lot of trial and error. You need something that stands out but remains legible when scaled down for tags or scaled up for banners. The Fishtail Monogram Font offers a stylish, slightly ornate look that works exceptionally well for these exact scenarios. Its unique curves and elegant structure give crafters and print-on-demand sellers a reliable option for adding a custom, high-end feel to their products without spending hours drawing letters from scratch.
What makes a good monogram font for crafting?
When working with physical materials like vinyl, wood, or embroidery, the physical constraints of the medium dictate your typography choices. A good display typeface needs thick enough strokes to cut cleanly on a Cricut or Silhouette machine, and smooth curves that won't pucker when stitched. This particular style provides that necessary weight while keeping an artistic flair. If you are working on projects for younger audiences and need something more playful, you might pair it with a chunky, playful typeface designed for children's items to create a nice contrast in your shop's catalog. Having a diverse toolkit ensures you can meet various customer requests.
How can small businesses use this style for branding?
Boutique owners and Etsy sellers often rely on custom lettering to make their packaging memorable. Using an elegant script or display style on thank-you cards, tissue paper stamps, or custom mailer boxes helps build brand recognition. It signals to the customer that they are receiving a carefully curated product. For businesses that also sell apparel or team merchandise, mixing this elegant style with a classic collegiate lettering style can help you offer a wider variety of personalized goods. If you want to see more examples of how this specific family works in practice, you can browse the complete collection of Fishtail display styles for additional layout inspiration.
Which design software handles custom lettering best?
Most modern vector and raster programs will handle these files without issue. Whether you use Adobe Illustrator, CorelDRAW, or free alternatives like Inkscape, importing the OTF or TTF files is straightforward. For crafters using Canva or Cricut Design Space, you can simply upload the font file to your account and start typing. If you want to explore more rugged or textured options for your design toolkit, browsing through a grungy, heavy typeface collection can give you great alternatives for vintage or distressed projects. Mixing different weights and styles is a great way to build a versatile design portfolio.
What are some practical project ideas for display typography?
Display typefaces are meant to be seen, so they work best on items where the text is the main focal point. Here are a few ways crafters and designers use this kind of lettering:
- Wedding Signage: Welcome boards, seating charts, and acrylic table numbers.
- Personalized Drinkware: Monogrammed tumblers, wine glasses, and ceramic mugs.
- Apparel: Custom tote bags, boutique clothing tags, and embroidered hoodies.
- Home Decor: Wooden wall signs, custom doormats, and engraved cutting boards.
If you are designing for a specific decade or theme, you might also want to look into a nostalgic, vintage-inspired lettering style to match the aesthetic of your project.
How do you prepare lettering for print-on-demand?
Before sending your design to a printer or cutting machine, you need to ensure the file is properly formatted. Printers require crisp edges and accurate colors to produce a high-quality final product.
- Outline your text: Always convert your text to outlines or paths before sending the file to a commercial printer. This prevents missing font errors on their end.
- Check the resolution: If you are working in a raster program like Photoshop, ensure your canvas is set to at least 300 DPI for clear printing.
- Mind the kerning: Adjust the spacing between letters manually. Automated kerning often leaves awkward gaps in highly stylized display faces.
- Test a small batch: Before listing a new physical product in your shop, print or cut a single prototype to check how the thin and thick strokes hold up in real life.
Next Step: Open your design software and type out a few common names or initials using the new typeface. Print them out on standard paper at the exact size you plan to cut or print them. This quick physical mockup will immediately show you if the delicate loops are too thin for your specific vinyl cutter or embroidery machine, saving you time and wasted materials later.
Learn More Wavy Font Styles for Creative Web Design
 Happy Brush Font Ideas for Joyful Projects
 A Creative Typeface for Nostalgic Designs
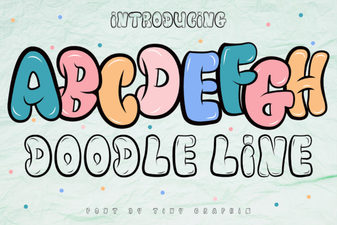 Doodle Line Font: Creative Typography for Your Projects
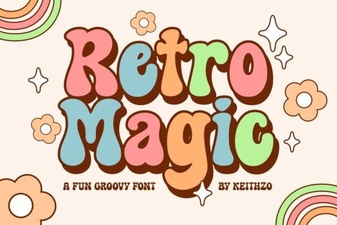 Retro Magic Fonts for Creative Design Projects
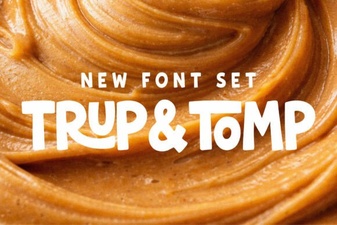 Trup & Tomp: Elegant Fonts for Modern Design